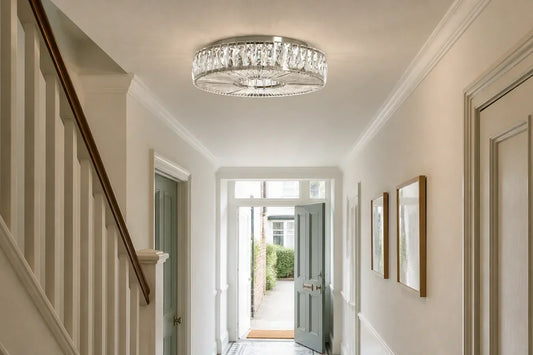
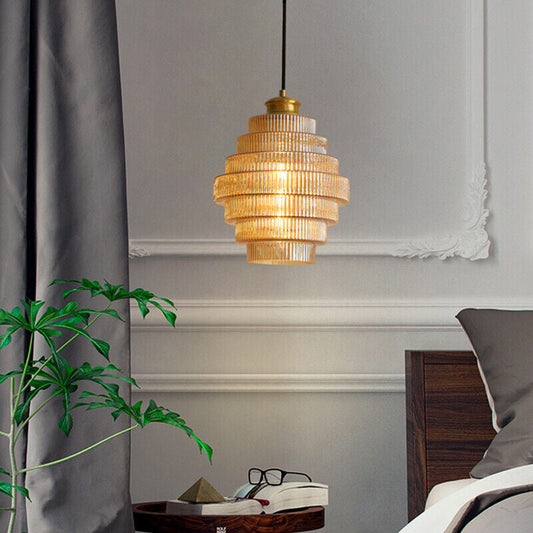
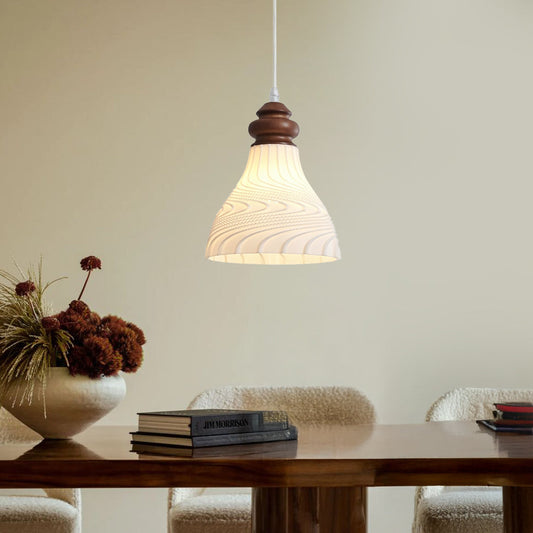
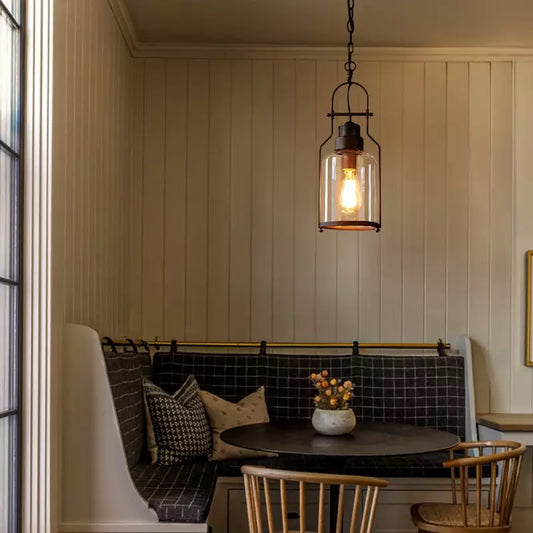
Kitchen island pendant lights should make the worktop easier to use, keep views across the room open and bring the whole kitchen together. The challenge is that height, number and spacing all affect one another. A row that looks balanced in a photograph can feel crowded in a real kitchen if the shades are wider, the ceiling is lower or the island is shorter.
This guide gives you a practical starting point for UK homes, then shows you how to adjust it for your island, your ceiling and the people who use the room.

The quick answer: start with height, then plan the row
As a useful starting point, position the bottom of a pendant roughly 75 to 90 cm above the island worktop. That range usually leaves enough space for conversation and clear sightlines while keeping the light connected to the surface below. It is a starting point rather than a fixed rule: tall family members, unusually high ceilings and large shades can all justify an adjustment.
For many medium-sized islands, two or three pendants create a balanced result. The correct number depends less on following the fashionable "rule of three" and more on the width of each shade, the usable length of the island and the gaps you need between fittings. Decide the shade size before finalising ceiling positions.
How high should pendant lights hang above a kitchen island?
Measure from the finished worktop to the lowest point of the shade, not from the ceiling. Begin within the 75-90 cm range, then stand at both sides of the island. You should be able to see the face of someone opposite you without leaning around the fitting, and the light should not sit directly in your eye line.
In an open-plan room, also check the view from the main entrance and adjoining seating area. Raising a pendant by even a few centimetres can make the room feel more open. Lowering it slightly can give a large island more intimacy, but only if the shade does not obstruct movement or conversation.

If you like the character of coloured glass, the Vintage Decorative Ribbed Green Glass Pendant Light offers three shade profiles and a 150 cm cord. That gives your installer useful flexibility when setting the visual drop, while the final position should always suit the room and be fitted safely.
How many pendant lights do you need?
Start with the island length, but do not use length alone. A pair of broad shades can fill the same visual space as three compact pendants. The aim is to create an even rhythm without pushing the outer fittings so close to the ends that the arrangement feels squeezed.
| Island length | Useful starting point | Check before deciding |
|---|---|---|
| Up to about 150 cm | One substantial pendant or two compact pendants | Shade width and whether the island has seating |
| About 150-180 cm | Two pendants | Leave comfortable space at both ends |
| About 180-240 cm | Two broad or three smaller pendants | Keep the row centred on the island |
| About 240-300 cm | Three pendants | Confirm that the gaps do not become too wide |
These figures are planning prompts, not installation instructions. Make a simple paper template of the shade diameter and tape it above the island, or ask someone to hold a lightweight outline in position. Seeing the volume in the room is more reliable than choosing a number from the island length alone.

How to space kitchen island pendants evenly
First decide how far the outer pendants should sit from the ends of the island. An inset of roughly 15-30 cm is a useful visual check, although wide shades may need more breathing room. Mark the centre line of the usable section, then divide the remaining length evenly by the number of fittings.
Measure between the centres of the fittings rather than between the shade edges. Centre-to-centre measurements remain consistent even when a shade flares out. A gap of around 60-80 cm between centres is common, but the real test is whether the shades feel comfortably separated and distribute light across the worktop.
For two pendants, place them at equal distances on either side of the island centre. For three, position the middle pendant on the centre line and mirror the two outer positions. Before drilling, mark every point with removable tape and view the pattern from the kitchen entrance, dining area and adjacent room.

Let shade shape and scale guide the layout
Shade shape changes how a pendant occupies the room. A wide, shallow profile creates a strong horizontal line and may look best in a pair. A narrower cone can often be repeated three times without making the ceiling feel busy. A rounded shade has more visual volume, so leave enough air around it.
Coloured or ribbed glass adds another layer. It catches daylight even when the lamp is off and becomes more prominent after dark. If cabinetry, splashbacks or worktops already have a strong pattern, keep the pendant arrangement simple. If the kitchen is restrained, a green glass shade can introduce colour without committing to a large painted surface.
Choose light that is useful as well as attractive
An island often supports several activities: food preparation, homework, informal meals and conversation. Pendant lights should contribute to the task light on the surface, but they do not need to illuminate the whole kitchen alone. Combine them with general ceiling lighting and, where useful, lighting beneath wall units.
Consider brightness, colour temperature and glare when choosing bulbs. Warm light usually makes timber, brass and green glass feel relaxed, while a more neutral white can help with detailed kitchen tasks. If you want both moods, discuss suitable dimming and bulb compatibility with a qualified electrician and check the fitting instructions before purchase.

Five common pendant-lighting mistakes
- Choosing the number before the shade. Shade diameter and shape determine how crowded the row will feel.
- Measuring from the ceiling only. The worktop-to-shade distance is the more useful reference for sightlines and daily use.
- Spacing from the shade edges. Mark centre points so the layout remains accurate.
- Ignoring the rest of the room. Check the pendants from every main viewpoint, not only from directly in front of the island.
- Expecting pendants to do every lighting job. Layer them with general and task lighting for a more comfortable kitchen.
A final checklist before installation
- Confirm the finished island length and centre line.
- Choose the actual shade size and profile before marking positions.
- Test the proposed height against standing, seated and cross-room sightlines.
- Mark all ceiling points and compare the gaps from several viewpoints.
- Check bulb, dimmer and installation requirements with a qualified electrician.
A successful pendant layout feels deliberate but not rigid. Start with reliable measurements, then let the room, shade and daily use guide the final adjustment. If green ribbed glass suits your kitchen palette, explore the available glass, walnut and shade-shape options before mapping the exact row.

Frequently asked questions
Should I use two or three pendant lights over an island?
Use the shade width and island length together. Two broader pendants often suit a medium island, while three smaller shades can create a balanced rhythm over a longer surface. Mock up the widths before committing.
Should pendants be centred on the island or the room?
They are normally centred on the island because that is the surface they light and visually anchor. In an open-plan kitchen, check the wider room view before installation in case a small adjustment improves alignment.
Do kitchen island pendants have to match other lights?
No. Repeating one material, finish or colour is usually enough to create a connection. The shapes can differ as long as the overall combination feels intentional.